I was in London this weekend – visiting some friends for a scary (ie one that has a zero on the end!) birthday do.
On the way I decided to play with an old technique that I’d got really out of the habit of using – panning. It’s not the most useful for landscape shots – or usually those of climbers and walkers, but it’s fantastic for all manor of wheeled transport (as well as its more typical pro use – sports photography).
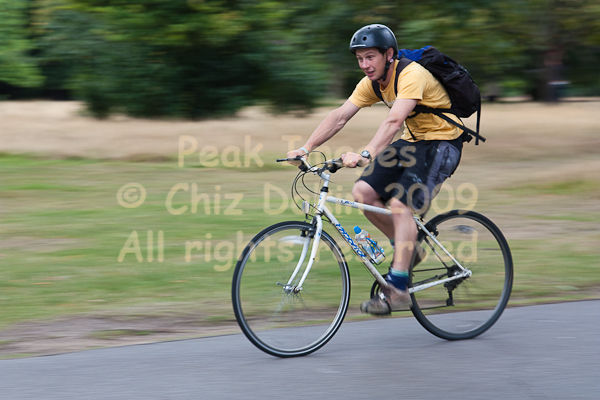
There were loads of cyclists in Hyde Park, so I sat down on a bench and tried to remember the basics of panning photography. First step is to set the camera to the Tv setting – telling the camera that you the photographer want control over the shutter speed, and it can work out the lens aperture to give the correct exposure. Then you need to set a suitable shutter speed – often between 1/30s and 1/60s works out best.
Panning Photography - Urban Scooter
Finally, set the autofocus to AI-Servo or AI-Focus (on a Canon; AF-C or AF-A on more recent Nikons) – so that it will keep the subject in focus it moves.
Then once you’ve got a suitable subject in view, stand up (this is important!), and start following their progress from three to four times the distance that you want to take the shot at. Your aim is to be moving the camera at a speed that keeps them in the same place in the frame. Or in other words, relative to the camera, so they appear not to be moving.
As you press the shutter, keep panning until well after your finger leaves the shutter button. A bit like follow-through in many sports, it makes sure you don’t unintentionally drag the camera in the wrong direction at the end of the exposure.
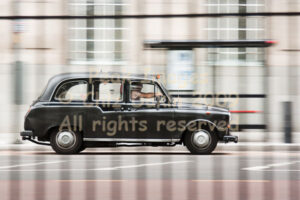
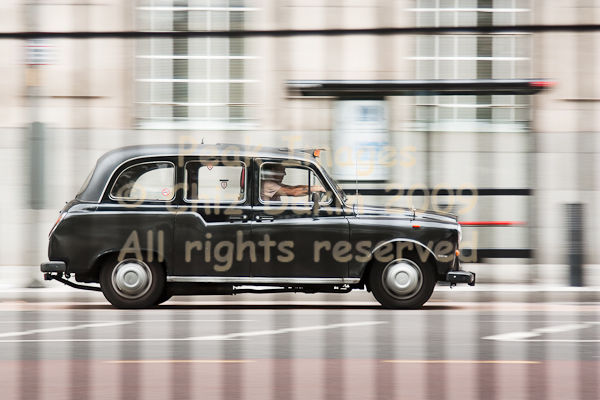
Panning Photography - A Black Cab London Taxi in Motion
Another useful tip to help improve the sharpness of your panned action shots – is to turn from the hips. Try to keep your upper body still – and this will decrease the risk of unwanted camera shake in an up-and-down way. (Any side-to-side movement will be taken care of by the panning motion!)
This technique can be applied to many types of sports photography and urban motion photography.
